Last update: February 3, 2020
Source code in Git: Blazor Prepare for Authorization Example
Blazor Prepare for Authorization
This solution:
- Is intended for Blazor WebAssembly.
- Shows how to prepare your Blazor WebAssembly client for authentication and authorization.
- Prepares your client to work with a back end with a 3rd party authorization solution like Azure AD B2C or any other authorization solution (including your own).
- Includes an example of a ClientAuthorizationService and a SignIn component.
- Shows how your back end Api can inform your client about the authorization of the user.
Table of contents
Introduction
User authentication and authorization for Blazor WebAssembly is fully handled by the back end Api, because the Blazor client runs in a browser. So your back end Api must handle the authorization on every Api call. However, your Api can tell the Blazor app whether the user is authenticated and has access to resources, to enable your Blazor app to show the correct content. This example shows you how to do that.
You can implement your own authorization in your Api or use a 3rd party solution like Azure AD B2C (I will soon post an example). The solution you choose does not matter much for your client.
Create the project
-
Create the initial BlazorExample solution as described in the knowledgebase article Create Blazor WebAssembly project with an ASP.NET Core Api.
- In the BlazorExample.Common project add an AuthorizedUser class in the Models folder:
namespace BlazorExample.Models { public class AuthorizedUser { public string Name { get; set; } public string Roles { get; set; } } } - In the BlazorExample.Api project add a SettingsController:
 using BlazorExample.Models;
 using Microsoft.AspNetCore.Mvc;

 namespace BlazorExample.Api.Controllers
 {
     [Route("api/[controller]")]
     [ApiController]
     public class SettingsController : ControllerBase
     {
         // GET api/settings/user
         [HttpGet("user")]
         public AuthorizedUser GetUser()
         {
             // User not signed in:
             return new AuthorizedUser();

             // User signed in:
             //return new AuthorizedUser { Name = "John Doe" };
         }
     }
 }
Prepare your WebApp
In the BlazorExample.WebApp project:
-
Add NuGet package Microsoft.AspNetCore.Components.Authorization.
-
In _Imports.razor add:
@using Microsoft.AspNetCore.Components.Authorization - In App.razor wrap the content in
<CascadingAuthenticationState>:<CascadingAuthenticationState> <Router AppAssembly="@typeof(Program).Assembly"> ... </Router> </CascadingAuthenticationState> - Add a Services folder and add a
ClientAuthorizationServiceclass. Although in this example we see only authentication, I call it AuthorizationService because it is prepared for authorization (user roles etc.).using BlazorExample.Models; using Microsoft.AspNetCore.Components; using Microsoft.AspNetCore.Components.Authorization; using System; using System.Collections.Generic; using System.Net.Http; using System.Security.Claims; using System.Threading.Tasks; namespace BlazorExample.WebApp.Services { public class ClientAuthorizationService : AuthenticationStateProvider { private const string AuthenticationType = "BackEnd"; private readonly HttpClient _httpClient; public ClientAuthorizationService(HttpClient httpClient) { if (httpClient == null) throw new ArgumentNullException(nameof(httpClient)); _httpClient = httpClient; } public string ApiUriGetAuthorizedUser { get; set; } public string ApiUriSignIn { get; set; } public string ApiUriSignOut { get; set; } public AuthorizedUser AuthorizedUser { get; private set; } = new AuthorizedUser(); public override async Task<AuthenticationState> GetAuthenticationStateAsync() { ClaimsPrincipal user; if (!string.IsNullOrEmpty(ApiUriGetAuthorizedUser)) AuthorizedUser = await _httpClient.GetJsonAsync<AuthorizedUser>(ApiUriGetAuthorizedUser); if (string.IsNullOrEmpty(AuthorizedUser.Name)) { // Not logged in: user = new ClaimsPrincipal(); } else { var identity = new ClaimsIdentity(CreateClaims(AuthorizedUser), AuthenticationType); user = new ClaimsPrincipal(identity); } return new AuthenticationState(user); } private static IEnumerable<Claim> CreateClaims(AuthorizedUser authorizedUser) { yield return new Claim(ClaimTypes.Name, authorizedUser.Name); // Add roles: var roles = authorizedUser.Roles?.Split(',') ?? new string[0]; foreach (var role in roles) yield return new Claim(ClaimTypes.Role, role.Trim()); } } } - In Program.cs add:
using Microsoft.AspNetCore.Components.Authorization; using System.Net.Http; ... public static async Task Main(string[] args) { var builder = WebAssemblyHostBuilder.CreateDefault(args); // Authorization builder.Services.AddAuthorizationCore(); builder.Services.AddScoped<ClientAuthorizationService>(CreateAuthorizationService); builder.Services.AddScoped<AuthenticationStateProvider>(sp => sp.GetRequiredService<ClientAuthorizationService>()); builder.Services.AddOptions(); ... private static ClientAuthorizationService CreateAuthorizationService(IServiceProvider serviceProvider) { var httpClient = serviceProvider.GetRequiredService<HttpClient>(); var service = new ClientAuthorizationService(httpClient) { ApiUriGetAuthorizedUser = "api/settings/user", // The SignIn and SignOut uris depend on the authentication provider you use. // In this example we assume Azure AD B2C (not yet implemented in the Api). ApiUriSignIn = "AzureADB2C/Account/SignIn", ApiUriSignOut = "AzureADB2C/Account/SignOut", }; return service; } - In the Shared folder add a new Razor component SignInDisplay.razor:
@using BlazorExample.WebApp.Services @inject ClientAuthorizationService AuthorizationService <AuthorizeView> <Authorized> <div> <span class="form-control">@AuthorizationService.AuthorizedUser.Name</span> </div> <div> <a class="btn btn-outline-primary" href="@AuthorizationService.ApiUriSignOut">Sign Out</a> </div> </Authorized> <NotAuthorized> <div> <a class="btn btn-outline-primary" href="@AuthorizationService.ApiUriSignIn">Sign In</a> </div> </NotAuthorized> </AuthorizeView> - In Shared/MainLayout.razor replace
<div class="top-row px-4">
  <a href="http://blazor.net" target="_blank" class="ml-md-auto">About</a>
</div>
with:
 <div class="top-row px-4">
     <SignInDisplay />
 </div>
Test your app
Now when you run the test app (Api project as startup), the App will show: 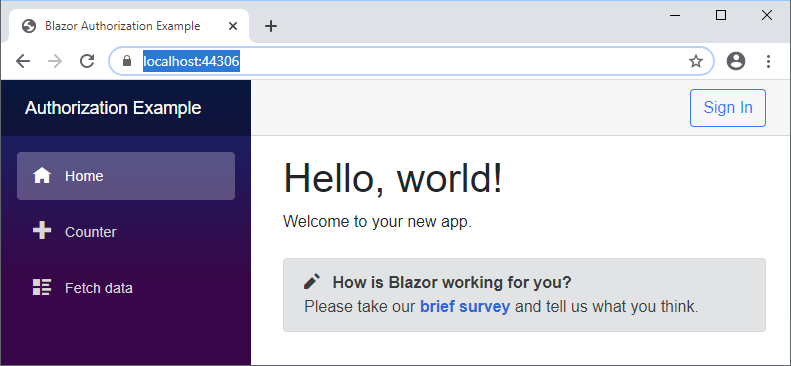
When you press the Sign In button you will off course be rerouted to Sorry, there’s nothing at this address, because authorization is not yet implemented in the Api.
If you change the code in the GetUser() action of your SettingsController to include the Name of the user, the App will show: 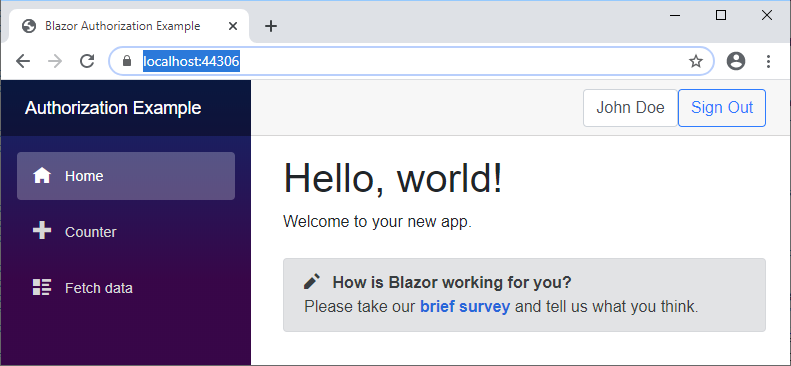
After implementing authorization, you should of course change the GetUser() action of your SettingsController to return the correct information about a signed in user, including Roles and/or policy info.